
")
1. Dripping Faucet
2. Running Toilet – Flapper
3. Leaking Toilet – Red Dye Test
4. Differences in Plungers
5. Retrieving Jewelry from a Drain
6. How to Locate the Water Shut-off Valve
7. Prevent Plumbing Problems
8. Avoid A Plumbing Disaster
Dripping Faucet
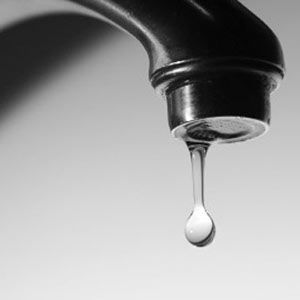
The slow drip of a leaky faucet is not only annoying, it’s expensive and can easily become hundreds of gallons of lost water in no time. Fixing a leaking faucet is easier than you may think. Here’s a few tips from ABC Company. There are 4 main causes of a leaky faucet:
- Worn out seals and O-rings
- Buildup on washers and valve parts
- Corrosion of the valve seat
- Loose parts
For information on fixing a leaky faucet, watch this video or see the basic instructions below. Here are the basics of fixing a single-lever bathroom or kitchen faucet.
Step 1 – Getting Ready To Do The Job
- Turn the faucet off. If you skip this step you’re going to have water spraying everywhere!
- Close or cover the sink drain as small parts have a tendency of falling down the drain.
TIPS: The pros put a rag or towel in the sink to catch these small parts. Take pictures as you disassemble the faucet, so you have a reassembly cheat sheet.
Step 2 – The Fix
Faucets are all different, but one thing they have in common is parts that unscrew or simply pull out:
- On a single-lever faucet you need to start by removing the set screw from the front of the faucet handle with an Allen wrench.
- Remove the handle and unscrew the cap.
- Pull out the lever.
- Insert a screwdriver to remove the seals, or rubber seats, and springs. Note, your faucet may not use all these parts.
- Install new seals/rubber seats and springs.
- Reassemble and give it a try!
A faucet’s lifespan can vary with use and care. A well-maintained faucet can last for many years. Faucets with a history of leaking or continued problems may be at the end of its useful life and need to be replaced.
For more information on faucet repair or replacement, ABC Company is here to help.
Running Toilet
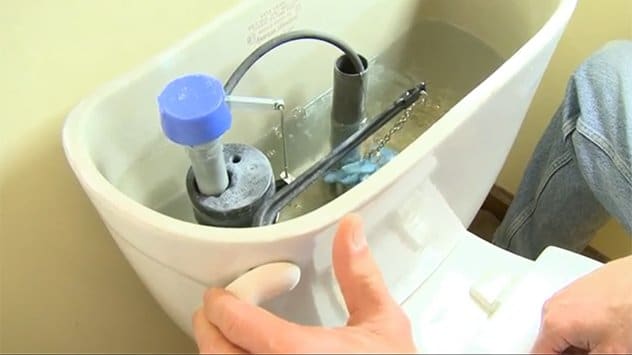
A running toilet can waste thousands of gallons of water each month and cause your water bill to skyrocket. Fortunately, there are two things you can easily do to stop your toilet from running away with your wallet. The technicians at ABC Company regularly see two main causes of a running toilet:
- A worn-out flapper
- Length of flush lever chain too short or too long
For information on fixing a running toilet, watch this video or see the basic instructions below.
Step 1 – Getting Ready To Do The Job
- Turn the water off to the toilet. The toilet water valve is usually located right behind the toilet.
TIP: Some water valves can be hard to turn so don’t force them. A drop or two of oil or a spray lubricant will help loosen the valve.
- Flush the toilet to empty the toilet tank.
- Remove the toilet tank cover and carefully set it aside.
Step 2 – The Fix
You’ll be surprised how easy this is! No tools are needed. It’s a great project for kids to get involved with their parents:
- Disconnect the flapper chain from the flush lever.
- Remove the old flapper from the bottom of the tank.
- Replace the old flapper with a new one from the hardware store.
- Adjust the length of the flapper chain so it hangs freely and doesn’t interfere with your new flapper.
Toilet flappers wear out due to mineral deposits in hard water and need to be replace every couple of years. The good news is they can be found at your local hardware store for about $10.
For more information on toilet repair, ABC Company is here to help.
Leaking Toilet – Red Dye Test

One of the biggest bathroom issues is a toilet that keeps running after you flush it or runs by itself without being flushed. If left untreated, this problem can dramatically run up your water bill.
Water leaks account for approximately 12% of all water use in the average American home and the toilet is one of the most likely places to find them. So, it’s a good idea to fix this problem as soon as possible.
Step 1 – Getting Ready To Do The Job
- Purchase a bottle of red food coloring at the grocery store.
Step 2 – The Test
If the flapper is leaking it will be triggering the fill valve to refill the tank. To see if the flapper is leaking, try this simple test:
- Remove the toilet tank lid and carefully set it aside.
- Put about 10 drops of food coloring in the tank.
- Put the lid back on. Do not flush.
- Let the food coloring sit in the tank for 10 to 15 minutes.
- If the color leaks into the toilet bowl, there’s a leak.
TIP: Before you replace the flapper, check to see if sediment or debris has built up around it. If not, replace the flapper.
For more information on leaking toilets, ABC Company is here to help.
Differences in Plungers
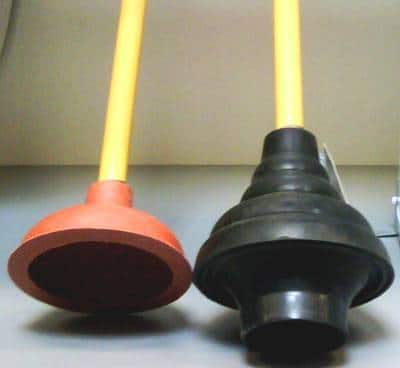
Clogged toilet or sink and not sure which plunger to use? ABC Company wants you to know there are different plungers for different clogs. So, which do you choose? For sinks, you want a cup style plunger. For toilets, a flange style plunger is best.
For information on the right plunger for your project, watch this video or see the basic instructions below.
Step 1 – Getting Ready To Do The Job
- If the water is too high in the sink or toilet it could slosh out. Bail some water out with a bucket or pan.
Step 2 – The Fix
For toilets or sinks:
- Tip the plunger to fill the cup with water.
- Firmly place the plunger over the drain.
- Push down and then pull up fast. A second or third try may be necessary.
TIP: If your sink or bath tub has an overflow drain it must be covered with a rag to create an airtight seal. If you don’t cover the overflow drain the plunger action will be lost because there won’t be enough suction power to open the clog.
Clogs happen for a variety of reasons. For sinks, it can be grease, coffee grounds, pasta, egg shells, vegetable peels, or just putting too much down the garage disposal too quickly with little to no water. Toilets are usually clogged by using too much paper. If your toilets or drains clog regularly you may have a problem that can only be solved by a plumber.
For more information on clogs, plungers or toilet repair, ABC Company is here to help.
Retrieving Jewelry From A Drain
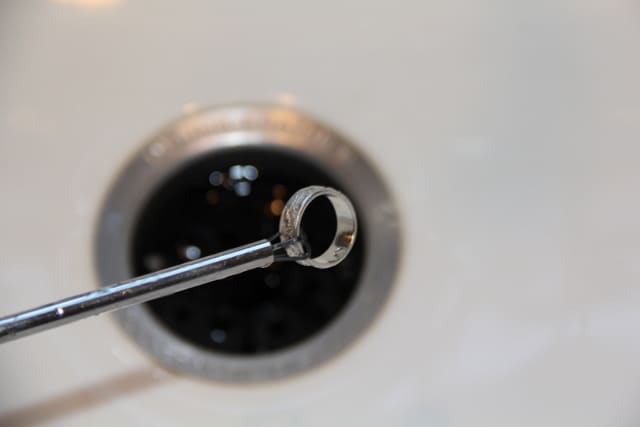
It happens more than you think. A valuable piece of jewelry accidentally falls down the drain. No need to panic. Here’s a brief step-by-step guide to retrieving lost items from the drain.
For information on retrieving jewelry from down the drain, watch this video or see the basic instructions below:
Step 1 – Getting Ready To Do The Job
- A small flashlight
- A bucket to catch water drips
- Rubber gloves
- Paper towels
Step 2 – The Fix
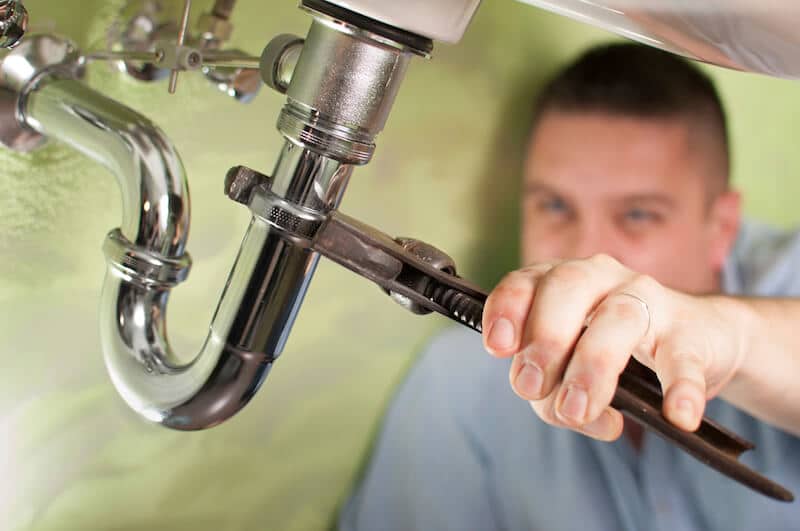
- Open the cabinet beneath the sink or locate the pipes behind the pedestal sink.
- Clear the area under the sink or from around the pedestal.
- Find the P-trap. The P-trap is a U-shaped pipe directly under the sink drain.
- Place a small bucket under the P-trap. A lot of gunk like hair, dirt, and grime along with, hopefully, your necklace, ring or bracelet will be falling out.
- Loosen the two slip nuts on either end of the P-trap. Remember, lefty-loosey, righty-tighty.
- Lower the P-trap and drain out its contents into the bucket. If you’re going to find your jewelry, it’s going to be in the P-trap.
- While the P-trap is off, use some paper towels to clean it out. A clear pipe runs faster
- Replace the P-trap by retightening the slip nuts and testing by filling the sink and draining the water. If there are no leaks, you reinstalled it perfectly
For more information on retrieving valuables from a drain, ABC Company is here to help.
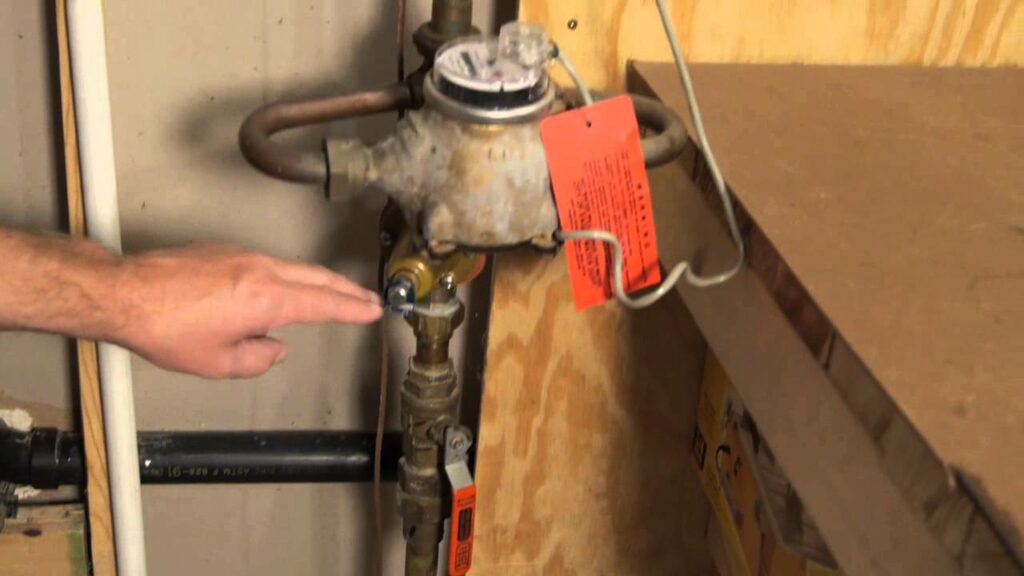
How To Locate The Water Shut-Off Valve
Knowing where your main water shut-off valve is located could save your home from a water disaster. For information on locating your water shut-off valve, watch this video or see the basic instructions below:
Step 1 – Getting Ready To Do The Job
- A flashlight may help you see in dark spaces to identify the correct valve
- Label to tag main shut-off valve
Step 2 – The Procedure
1. Locate your water meter:
- In cold climates, where pipes could freeze, the meter is located where the water enters the home in the floor of the foundation.
- In warmer climates, the shut-off valve is located outside the house near a faucet or in a service box in the ground.
2. Turn off the water valve by turning it clockwise. That’s it!
TIP: Once you locate the main water valve, attach a bright colored label to it so it can be found quickly in an emergency. Also, show everyone in the family where it’s located so no matter who’s home it can be turned off in an emergency.
For more information on locating your main water shut-off valve, ABC Company is here to help.
Preventing Plumbing Problems
Water leaks are a common plumbing problem. Knowing where your main shut-off valve is located can avoid thousands of dollars in damage to your home.
For information on preventing plumbing problems, watch this video or review the information below.
Step 1 – Identifying The Problem
- Clogged drains
- Broken pipes
- Leaks
- Water under sinks or around the water heater
- Dripping faucets
- Burst washing machine hoses
- Sewer backups
Step 2 – The Fix
First and foremost, know where your main water shut-off valve is located. In the event of a water emergency, this valve will shut off the water to your entire home:
- A burst washing machine hose can cause a lot of water damage in seconds. Avoid this disaster by installing stainless steel hoses.
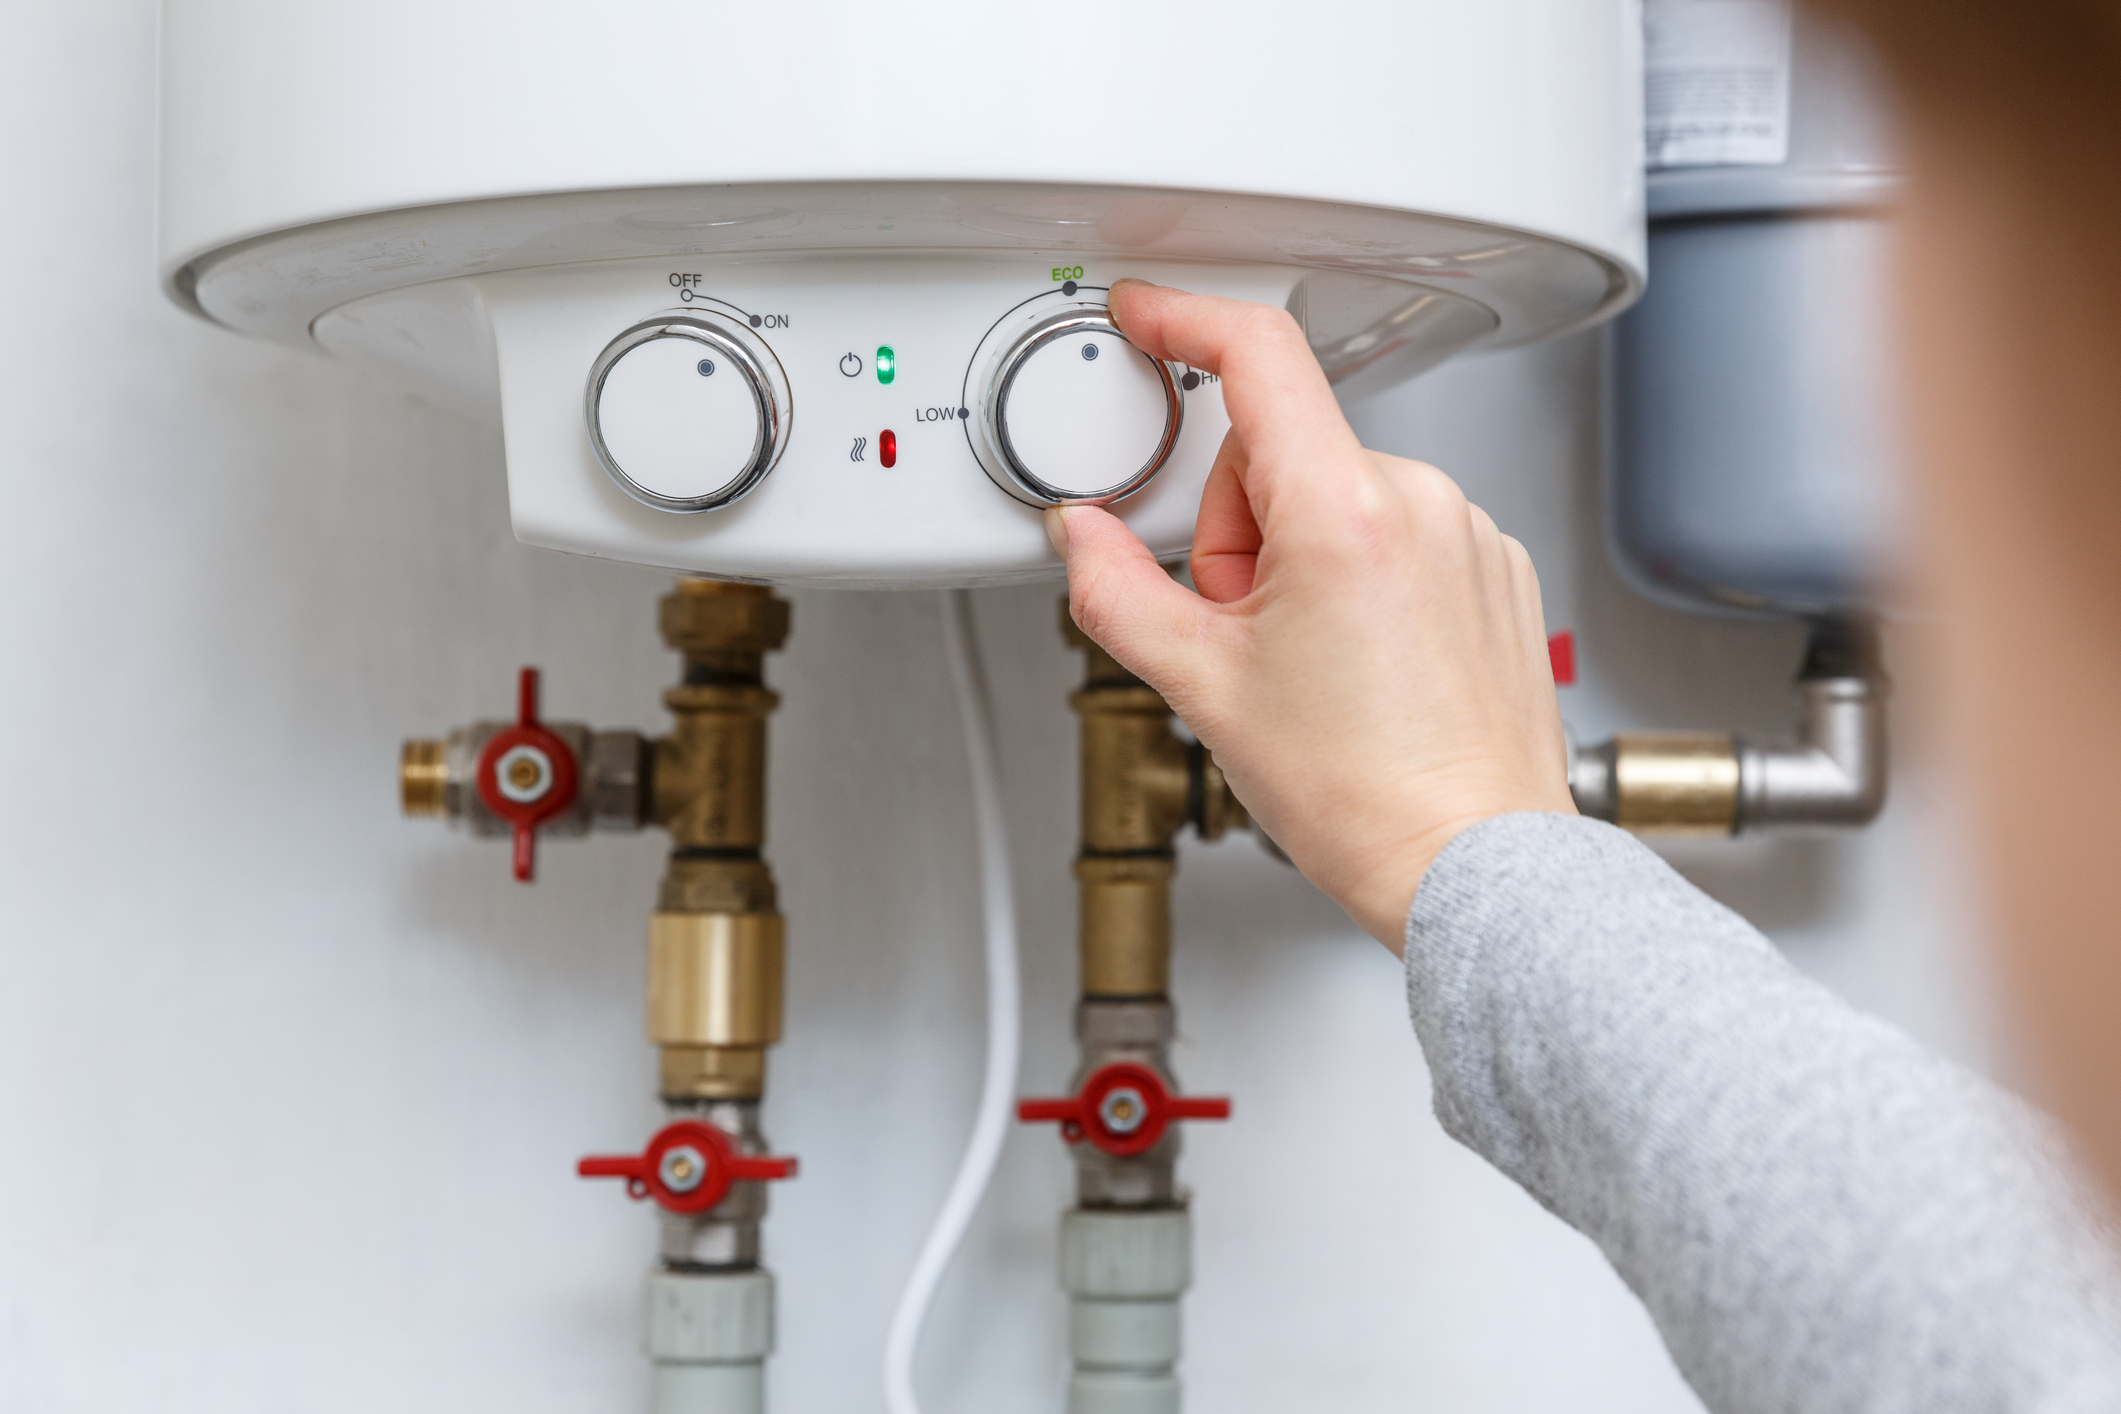
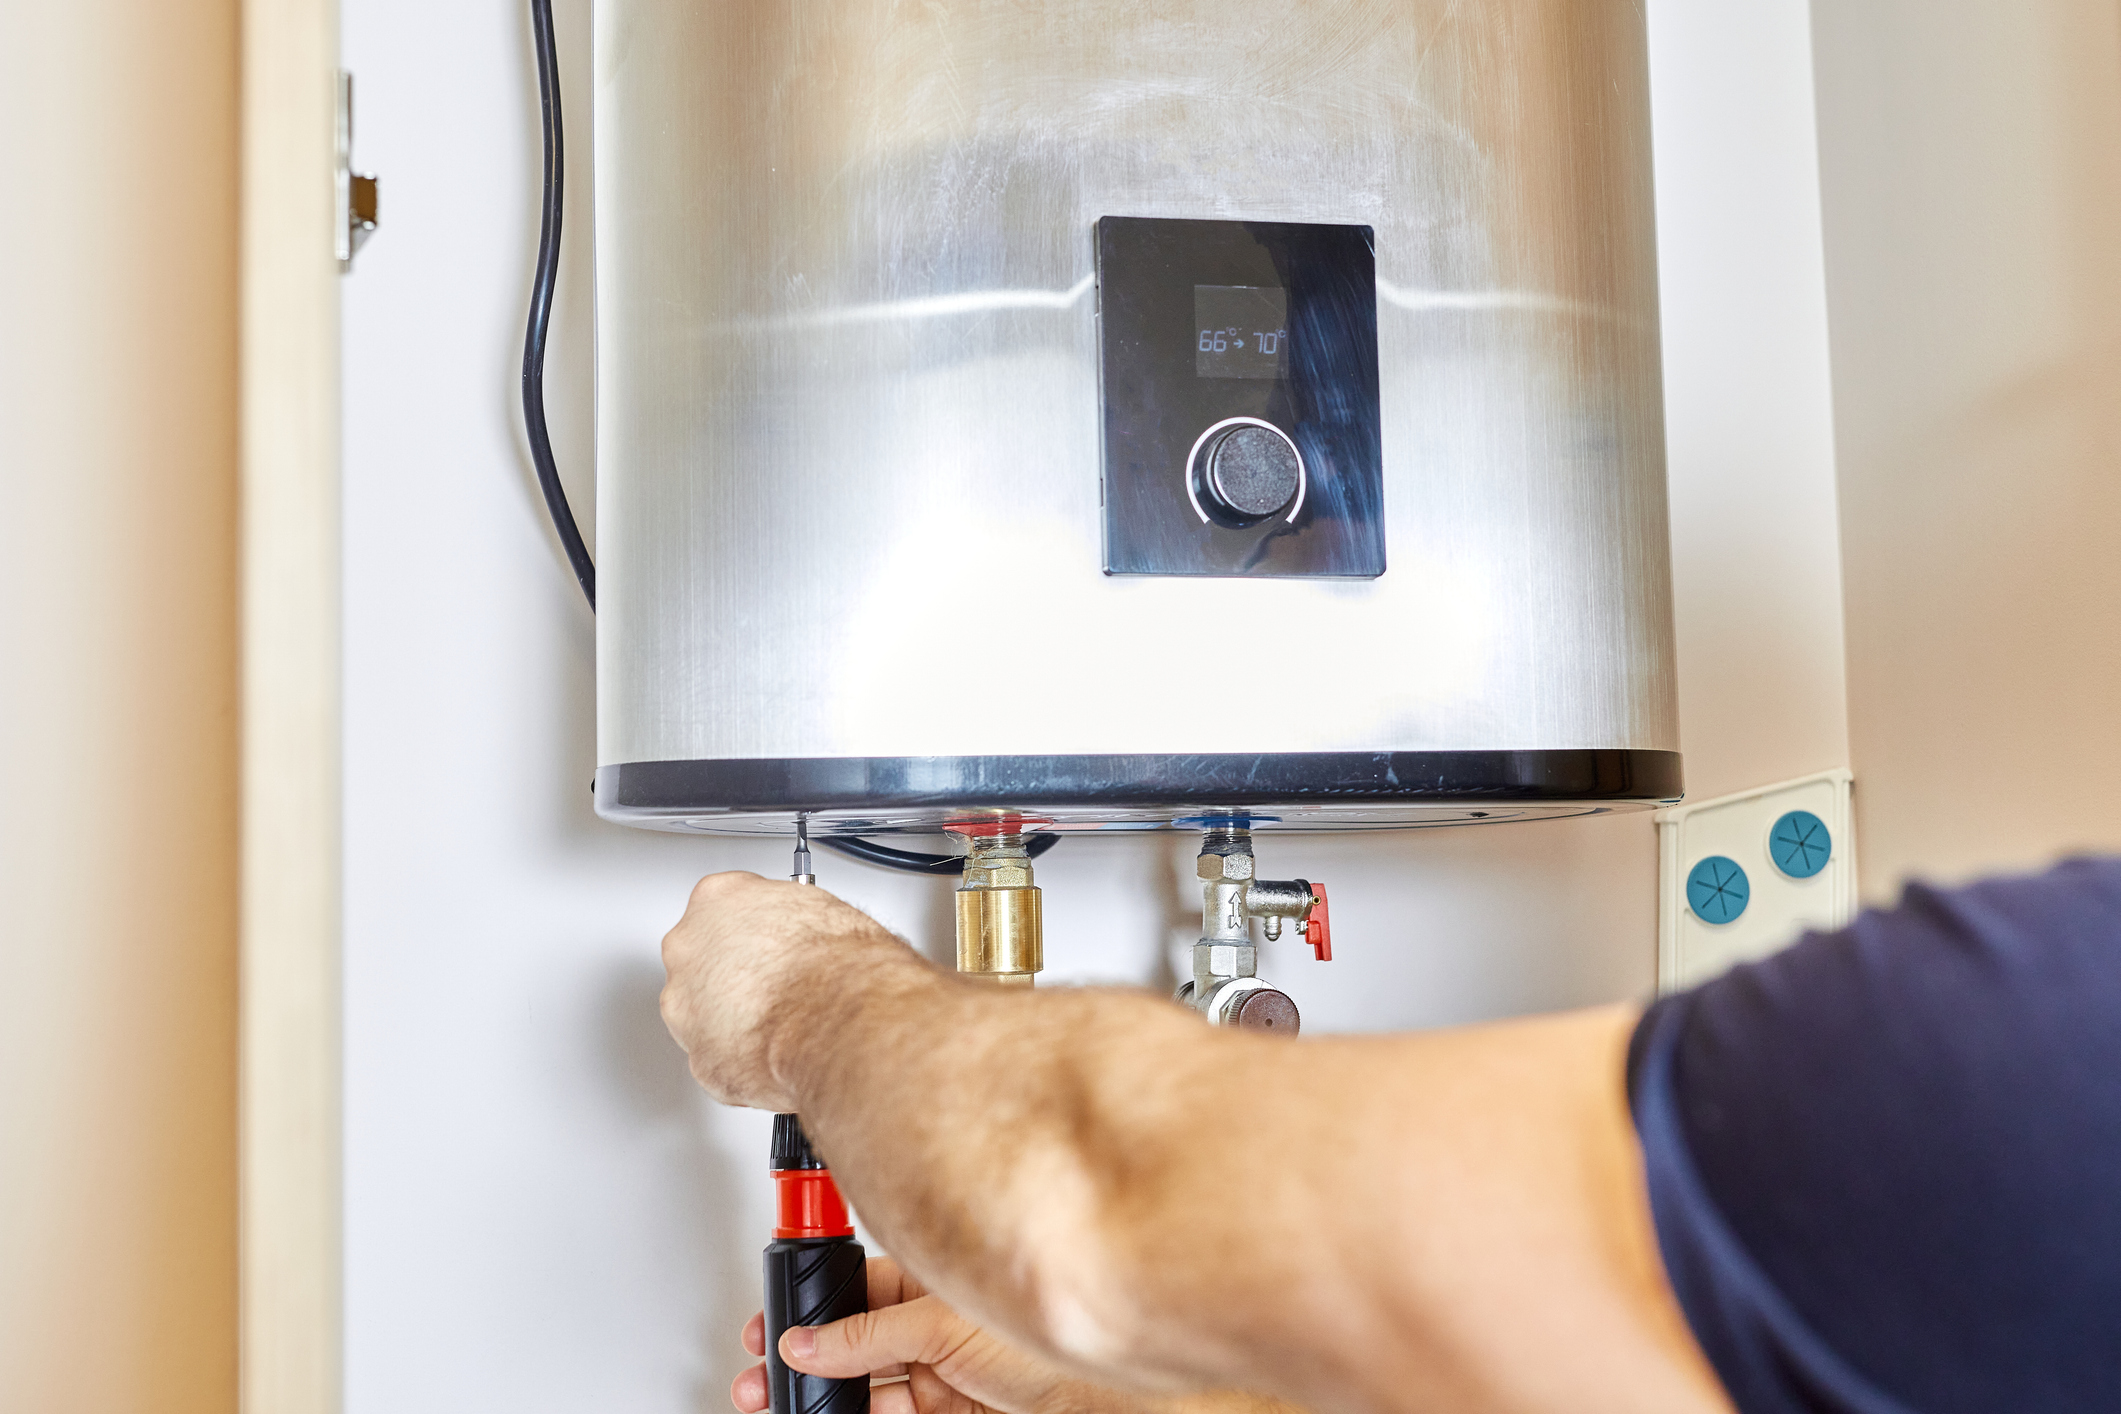
- Watch your water heater for signs of leaks. There shouldn’t be any water on the floor around the water heater. If you see water, it may be time to replace the water heater.
- Leaky toilets are usually caused by a faulty flapper, and that can cost you hundreds of dollars a year in wasted water. To learn how to replace a flapper, see our Running Toilet tip.
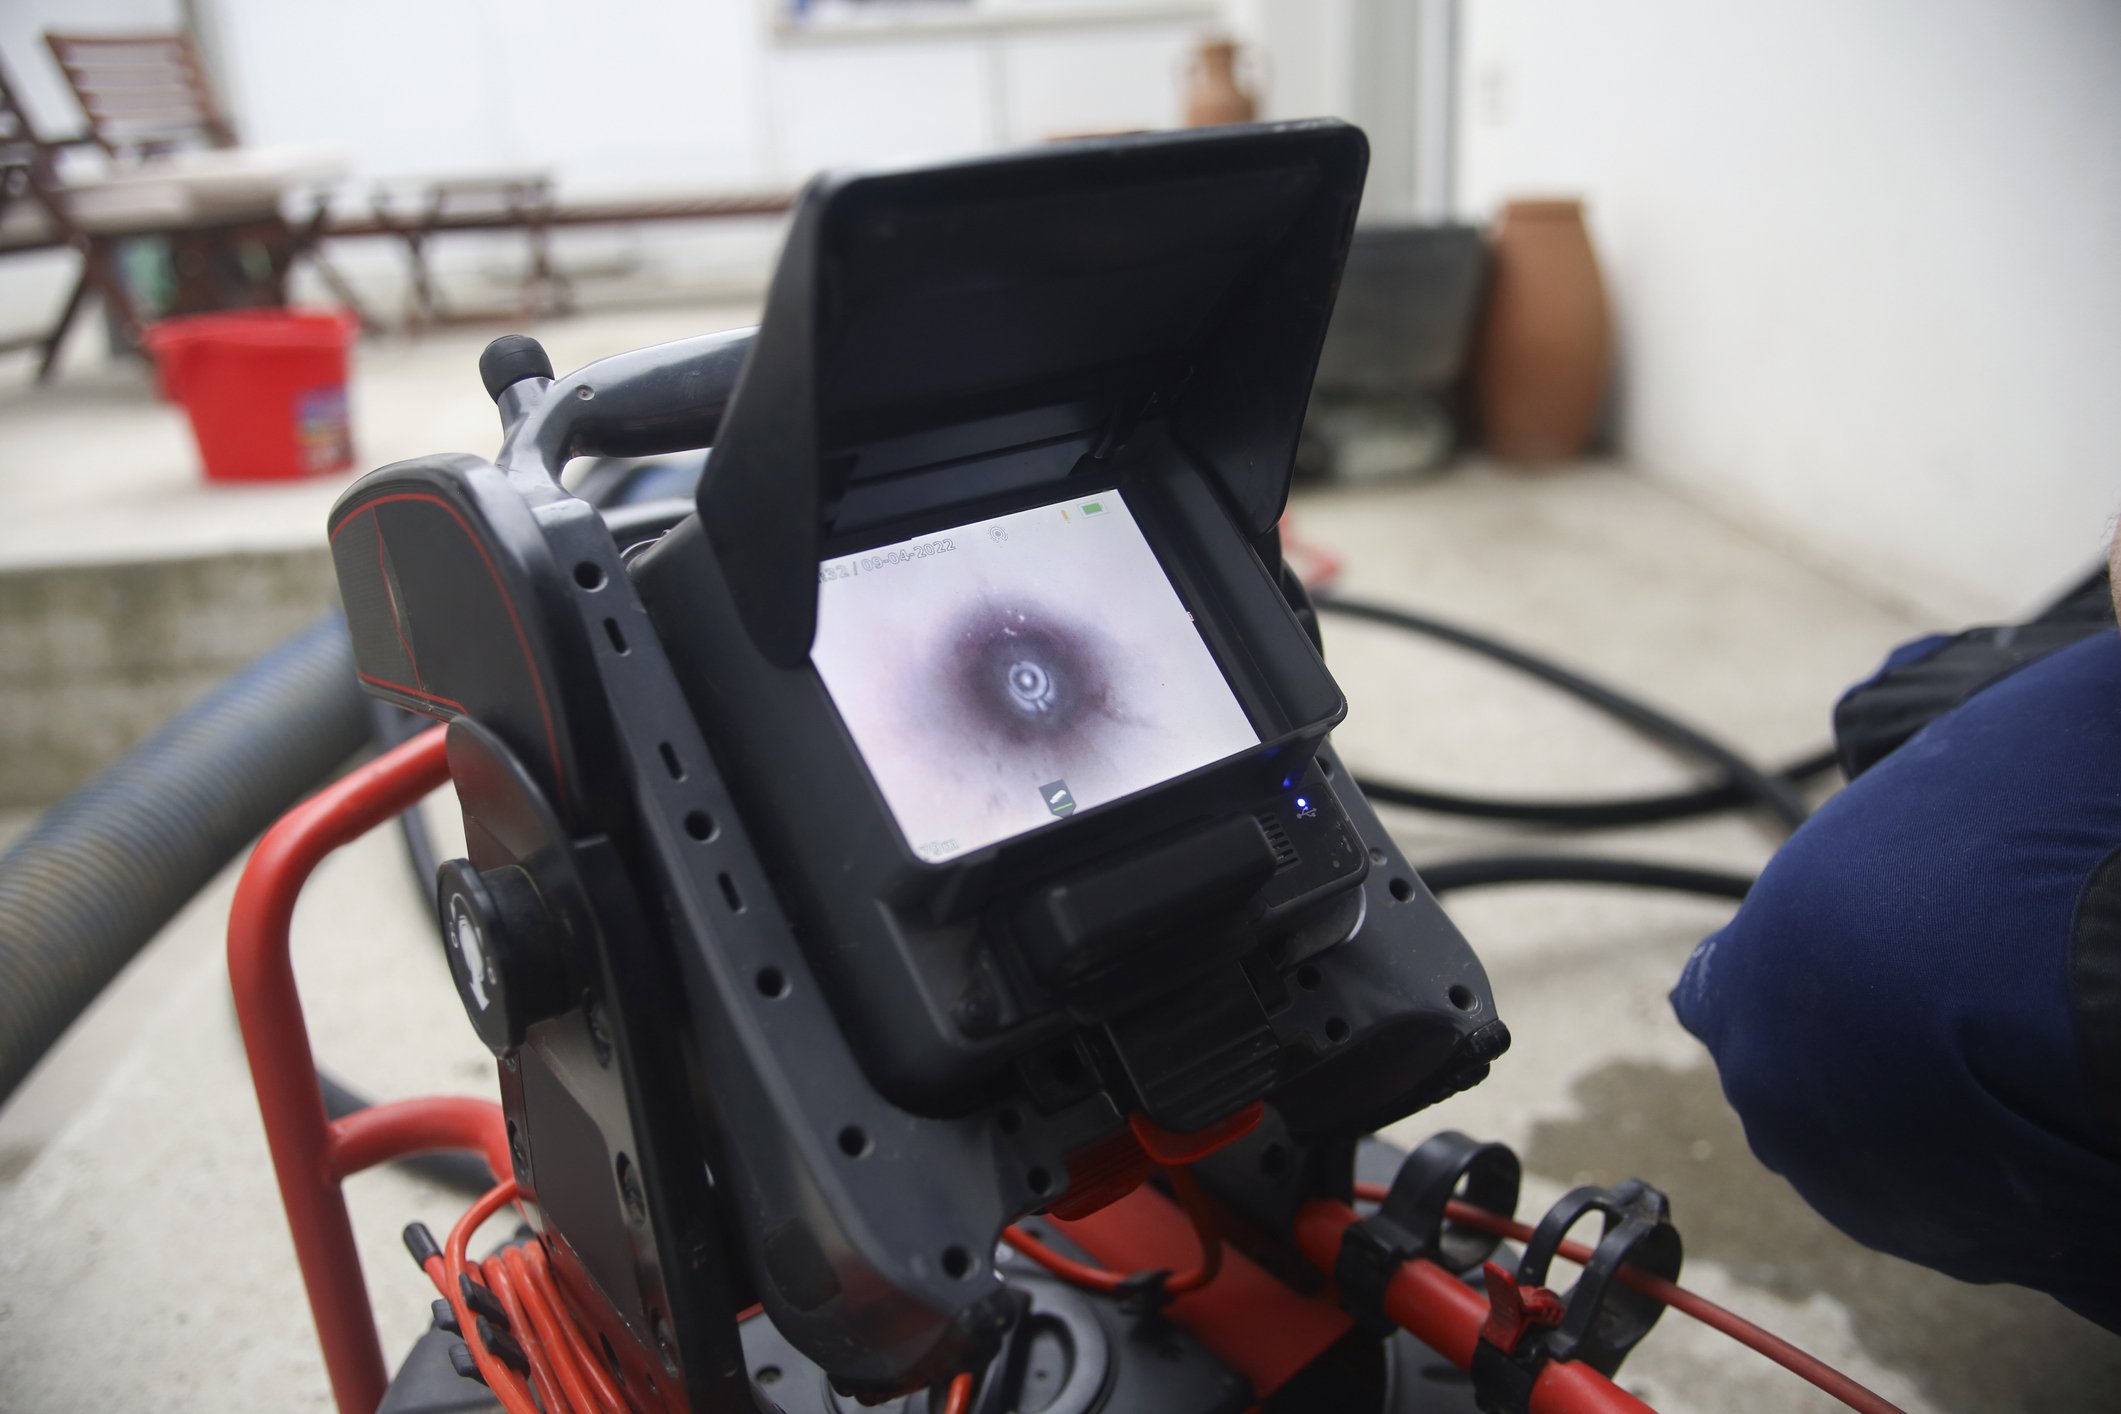
- Clogged drains may be a sign of a bigger problem with your sewer system. It takes a pro to locate and solve these problems.
If you see water where it’s not supposed to be we highly recommend getting it stopped right away to avoid a plumbing disaster. For more information on preventing plumbing problems, ABC Company is here to help.
Avoid a Plumbing Disaster
A major plumbing disaster can be a huge mess, and very expensive. If you’re leaving for vacation or planning to leave your home unattended for an extended period of time, it pays to plan ahead. For information on avoiding a plumbing disaster, watch this video, or follow the tips below:
Step 1 – Getting Ready To Do The Job
- A flashlight may help you see in dark spaces to identify the correct valve
- Label to identify the main shut-off valve
Step 2 – The Procedure
- Locate your water meter. In cold climates, where pipes could freeze, the meter is located where the water enters in to the home in the floor or foundation. In warmer climates, the shut-off valve is located outside the house near a faucet.
- Shut off the valve by turning it clockwise.
- Turn on all the faucets in your home to drain the water.
- Flush all toilets.
This procedure relieves water pressure in your pipes so if one does break there will be very little, if any, water damage to your home.
TIP: In the winter, set your thermostat to at least 55 degrees. This will keep your home warm enough to prevent pipes from freezing.
For more information on avoiding plumbing disasters, ABC Company is here to help.